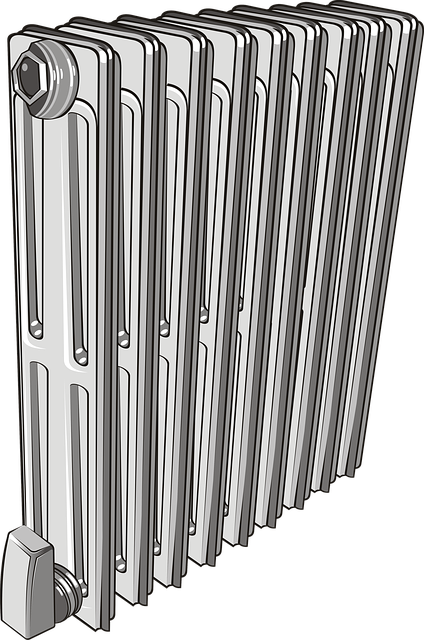
Water heaters are essential for home comfort, with tank and tankless models catering to different needs. Installation requires considering capacity, energy efficiency, and fuel source. Regular maintenance, including cleaning and inspection, ensures optimal performance and longevity. Common issues indicating service needs include temperature fluctuations and leaking. Safety measures must be taken before any installation or repair, such as deactivating power sources and ensuring proper ventilation. DIY projects are feasible for minor repairs but complex tasks may require professional assistance. Maintenance tips include setting appropriate temperatures, insulating in cold areas, and annual sediment flushing. Costs vary for repairs, upgrades, or replacements, with tankless heaters offering long-term savings despite higher upfront expenses.
Need help with your water heater installation? This comprehensive guide covers everything from understanding different types, recognizing when it’s time for a repair or replacement, and safety precautions to DIY installation tips. Learn the signs of common issues, explore cost considerations, and discover how regular maintenance can extend the lifespan of this essential appliance. Get ready to confidently navigate your water heater needs with expert advice at every turn.
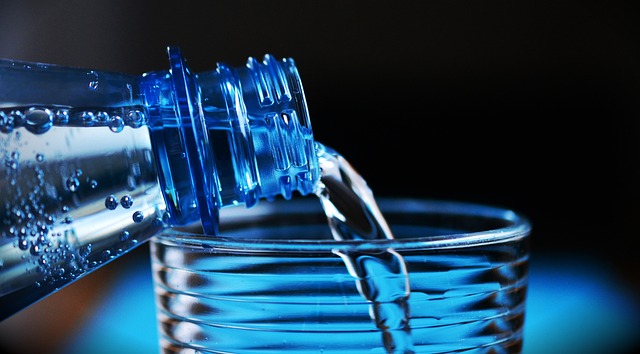
Understanding Your Water Heater: Types and Basic Functions
Water heaters are an essential part of any home, providing hot water for various activities like bathing, cooking, and cleaning. Understanding your water heater’s type and basic functions is crucial when it comes to repair or installation tasks. There are primarily two types: tank and tankless (or on-demand). Tank water heaters store hot water in a reservoir, maintaining a constant temperature, while tankless models heat water only as needed, without storing it.
During water heater installation, knowing these types helps professionals choose the right fit for your home’s needs. Factors like capacity (measured in gallons), energy efficiency (often indicated by Energy Star ratings), and fuel source (electricity, gas, or propane) play a significant role. Regular maintenance, including cleaning and inspection, is also vital to ensure optimal performance and longevity of your water heater, regardless of its type.
When to Repair or Replace: Common Issues and Signs

Knowing when to repair or replace your water heater is crucial for effective water heater installation and maintenance. Common issues signaling a need for service include inconsistent hot water supply, frequent temperature fluctuations, and prolonged heating times. If your water heater is more than 10-15 years old, it might be nearing the end of its lifespan, making replacement the better option.
Other signs that indicate repair or replacement are unusual noises coming from the tank, persistent leaking, corrosion, and a buildup of sediment at the bottom of the tank. These issues can lead to energy inefficiency, increased utility bills, and even safety hazards, such as the risk of scalding or fire. Regular maintenance checks can help identify these problems early on, ensuring timely repairs or replacements for your water heater.
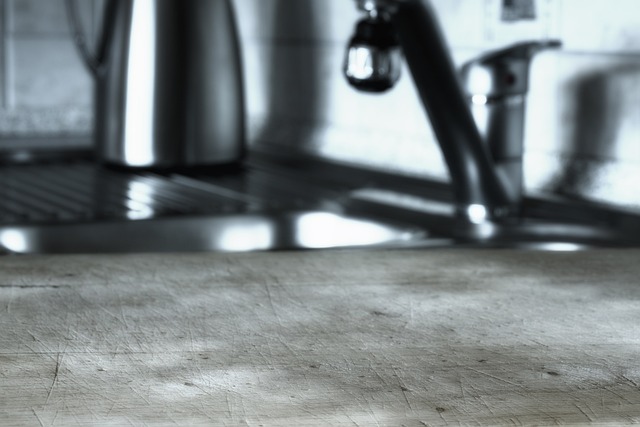
Safety First: Prepping for Water Heater Installation or Repair

Before any water heater installation or repair work begins, safety should always be the top priority. This involves shutting off the gas or electricity supply to the appliance and emptying any hot water remaining in the tank. It’s crucial to wear protective gear, including gloves, goggles, and long pants, as a precaution against potential scalding or burns. Additionally, ensuring proper ventilation in the workspace is essential to prevent the buildup of dangerous fumes.
Clear the immediate area of any flammable materials or obstacles that might hinder access during the repair process. If you’re not confident in your abilities or the complexity of the issue, it’s advisable to call in a professional technician for water heater installation or repair services, ensuring a safe and efficient outcome.
The Installation Process: Step-by-Step Guide for Homeowners
Water heater installation is a task that many homeowners may consider daunting, but with a step-by-step guide, it can be a manageable DIY project. First, gather all necessary tools and supplies, including a new water heater, insulation materials, pipes, connectors, and safety gear. Turn off the gas or electric supply to the old heater to ensure safety during the transition. Next, locate the designated space for the new water heater, considering factors like accessibility, proximity to fixtures, and adequate ventilation.
Proceed by removing the old water heater with care, taking note of any connections and markings for future reference. Install the new heater, ensuring proper alignment and securing it in place. Connect the water lines according to the manufacturer’s instructions, and if electrical work is involved, consult a professional or follow local regulations. Insulate the heater for energy efficiency and safety, paying attention to any specific guidelines for your region. Test the system thoroughly before restarting the gas or electricity supply to guarantee a smooth and safe operation.
DIY vs. Professional Help: When to Opt for Each

When it comes to water heater repair and installation, deciding between DIY and professional help depends on several factors. For minor issues like replacing a thermostat or flushing sediment, many homeowners feel confident tackling these tasks themselves. Water heater installation can be a straightforward process if you have basic tools and follow instructions carefully. Online tutorials and step-by-step guides make it easier than ever to perform simple repairs.
However, more complex problems such as faulty wiring, tank corrosion, or heating element failure may require professional expertise. A licensed plumber has the training and tools to diagnose and fix these issues safely and effectively. Additionally, if your water heater is not energy-efficient or outdated, a professional can guide you in selecting a newer model that suits your needs and helps you save on utility bills (Water Heater Installation). In such cases, the investment in professional help can lead to long-term savings and peace of mind.
Maintenance Tips: Extending the Lifespan of Your Water Heater
Regular maintenance is key to extending the lifespan of your water heater and ensuring it operates efficiently. Start by checking the temperature settings; ensure they are set at the recommended levels, typically between 120-140°F (49-60°C). This simple step can prevent excessive energy usage and potential scalding.
Additionally, insulate your water heater to prevent heat loss, especially if it’s in a cold area. Regularly inspect the heater for any signs of damage or corrosion, addressing issues promptly. Flushing the system annually can remove sediment buildup, improving efficiency. Remember, proper maintenance not only saves costs but also ensures consistent hot water supply, enhancing your overall comfort and satisfaction with your water heater installation.
Cost Considerations: Budgeting for Repairs and Upgrades
When it comes to water heater repair and installation, cost considerations are paramount. Budgeting for repairs involves assessing the extent of the issue and determining whether a fix or replacement is more feasible. On average, water heater repairs can range from $100 to $400, depending on the problem and the part required. For instance, replacing an anode rod, which prevents corrosion, typically costs between $150 and $300.
Upgrading to a new water heater is another financial consideration. The cost of installation varies based on the type of heater (gas, electric, tankless) and the size needed for your home. On average, water heater installation costs range from $500 to $1500 or more, not including the price of the new unit itself. Tankless heaters, known for their energy efficiency, usually come with a higher upfront cost but can save money in the long run due to reduced energy consumption and extended lifespan.